
How to Whiten Your Teeth at Home Using Crest 3D Whitestrips + LED Light (Step-by-Step Guide)
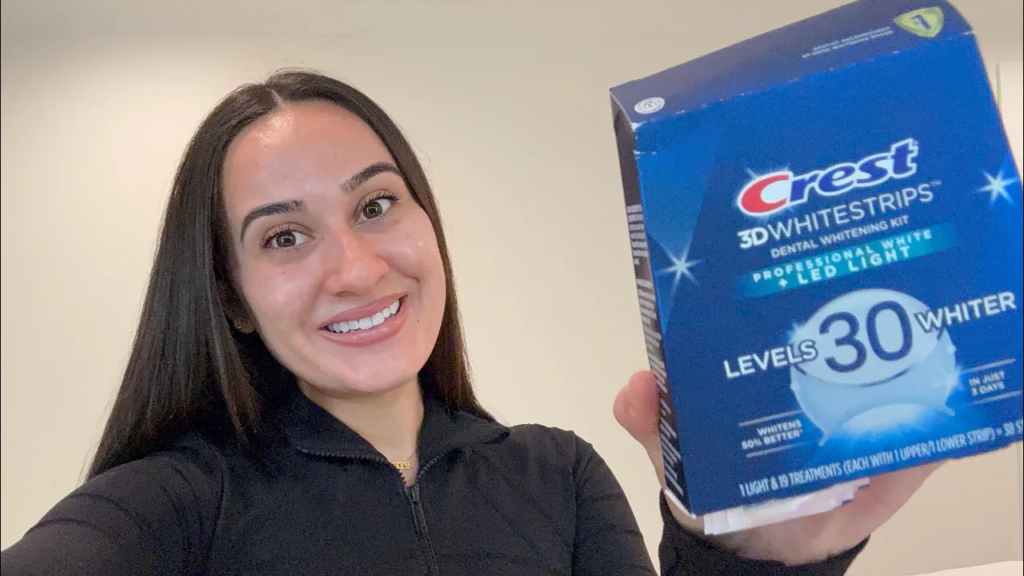
If you want a brighter smile without going to the dentist, using Crest Crest 3D Whitestrips is one of the easiest at-home whitening options. When combined with the LED accelerator light, you can help boost the whitening results and achieve a noticeably brighter smile in just a few days.
In this guide, I’ll walk you through exactly how to use Crest 3D Whitestrips that stay on for one hour, followed by a 5-minute LED light treatment.
Why Use Crest 3D Whitestrips?
Crest Whitestrips are designed with a professional-level whitening ingredient that helps remove deep stains caused by:
Coffee
Tea
Soda
Red wine
Smoking
Everyday food stains
The strips use a peroxide-based whitening formula that safely lifts stains from enamel while being gentle enough for at-home use.
Step-by-Step: How to Use Crest 3D Whitestrips + LED Light
Step 1: Brush Your Teeth First
Start by brushing your teeth gently with toothpaste.
Tips:
Do not brush aggressively
Wait about 5 minutes after brushing before applying strips
Make sure teeth are clean and slightly dry
This helps the whitening strips stick better to your teeth.
Step 2: Apply the Crest 3D Whitestrips
Each packet contains two strips:
One for the upper teeth
One for the lower teeth
How to apply them:
Peel the strip off the backing.
Place the gel side against your teeth.
Align the strip with your gum line.
Press firmly and fold the excess behind your teeth.
Make sure the strips sit flat against your teeth so the whitening gel works evenly.
Step 3: Wear the Strips for 1 Hour
Leave the strips on for 60 minutes.
During this time:
Avoid eating or drinking
Try not to move the strips too much
You can still talk normally
The whitening gel will begin breaking down stains during this hour.
Step 4: Remove the Strips
After one hour:
Slowly peel off the strips.
Discard them.
Rinse your mouth or gently brush your teeth to remove leftover gel.
Your teeth may already look slightly brighter after the first use.
Step 5: Use the LED Whitening Light (5 Minutes)
After removing the strips, use the LED accelerator light for an extra whitening boost.
How to use it:
Turn on the LED whitening light.
Place it in front of your teeth.
Keep it positioned on your smile for 5 minutes.
Let the light help activate any remaining whitening gel on your teeth.
This step helps enhance the whitening process and speed up results.
How Often Should You Use Crest Whitestrips?
Most whitening kits recommend:
Once per day
For 10–14 days
Results usually start becoming noticeable after 3–5 treatments, with full whitening results after completing the entire cycle.
Tips for the Best Whitening Results
Avoid Stain-Causing Foods
During your whitening routine, try to limit:
Coffee
Red wine
Soda
Dark sauces
Berries
These foods can stain teeth again while you’re whitening.
Stay Consistent
Whitening works best when used daily and consistently.
Skipping days can slow down your results.
Expect Temporary Sensitivity
Some people may experience mild tooth sensitivity while whitening.
If this happens:
Skip a day
Use sensitive toothpaste
Continue treatment once sensitivity improves
How Long Do Results Last?
With proper care, your whitening results can last 3–6 months.
To maintain your brighter smile:
Brush twice daily
Use whitening toothpaste
Drink dark beverages with a straw
Do occasional whitening touch-ups
Final Thoughts
Using Crest 3D Whitestrips with the LED light is a simple and effective way to whiten your teeth at home. By wearing the strips for one hour and finishing with a 5-minute LED treatment, you can gradually remove stains and achieve a noticeably brighter smile.
With consistent use and good oral hygiene, you’ll be able to maintain a whiter, more confident smile without the cost of professional whitening treatments.